For the last year I have been researching and considering a fairing for my LWB Burley recumbent bicycle. Fairings, by design, are supposed to give you a little more mph and less wind resistance. Articles and forums I have read say you really don’t see much improvement unless you are doing 15 mph, BUT anytime you are heading into the wind, there is a noticeable increase from no fairing at all.
Burley stopped making recumbents about five years ago so precise fitting accessories are often hard to come by, even replacement parts can be difficult to find. Both Windrap and Zzipper had fairings that would work, but the cost would be $300-$500, way more than I wanted to spend. As luck would have it I came into position of a Zzipper fairing, scratched but usable, but without any hardware. I think it is actually for a trike, but I was determined to make it work. A day of researching brought me to the conclusion that about the only way to attached these is to mount a upper and lower bar to the front of the bike that holds the fairing in place. Frustrating, to say the least, as mounting kits at Zzipper were as much as $500 and about $100 less at Windwrap.
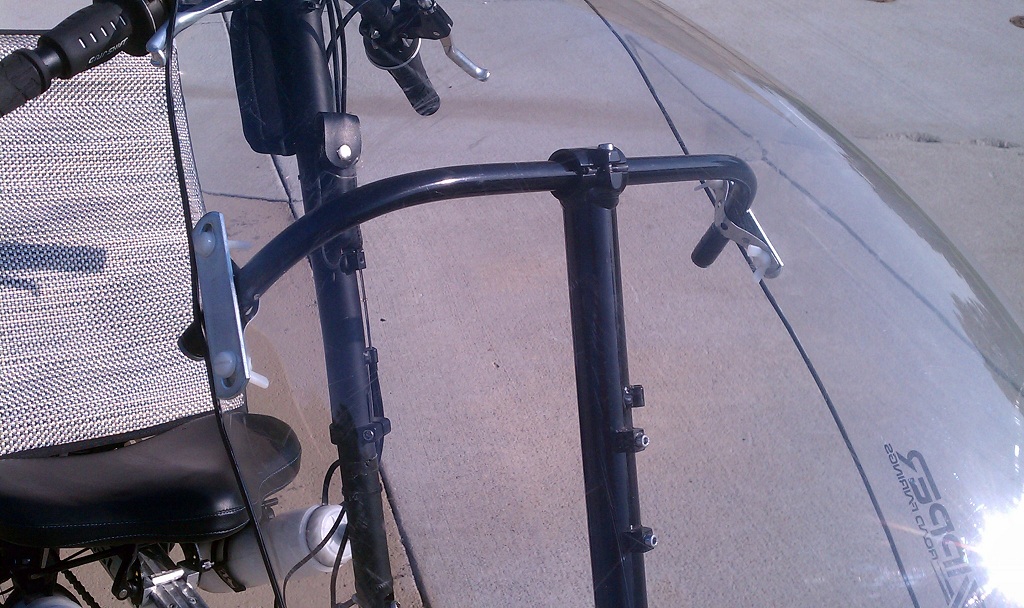
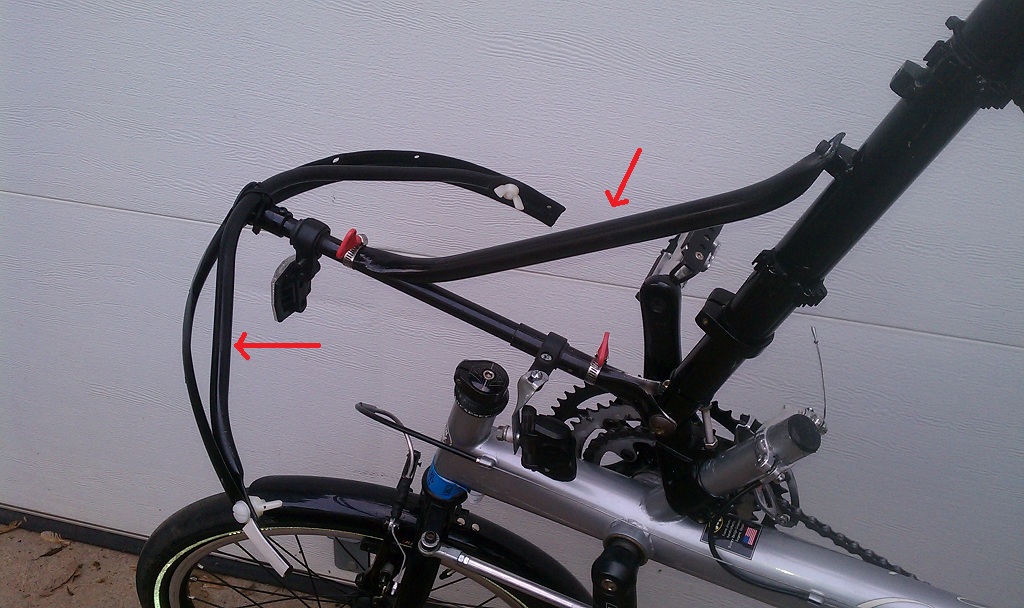
With a few years experience rebuilding two vintage VW’s, a little skill with a grinder and a rivet gun, I decided I could probably build the same or better mounting hardware myself. I first took stock of my current bike design and what parts and scraps I had on hand. As luck would have it I had an old steering mast that I could attach the the front steering hub which acts as my main support for the entire fairing. Where the handle bars were suppose to go on my steering mast, I used a piece of tubular aluminum deck railing.
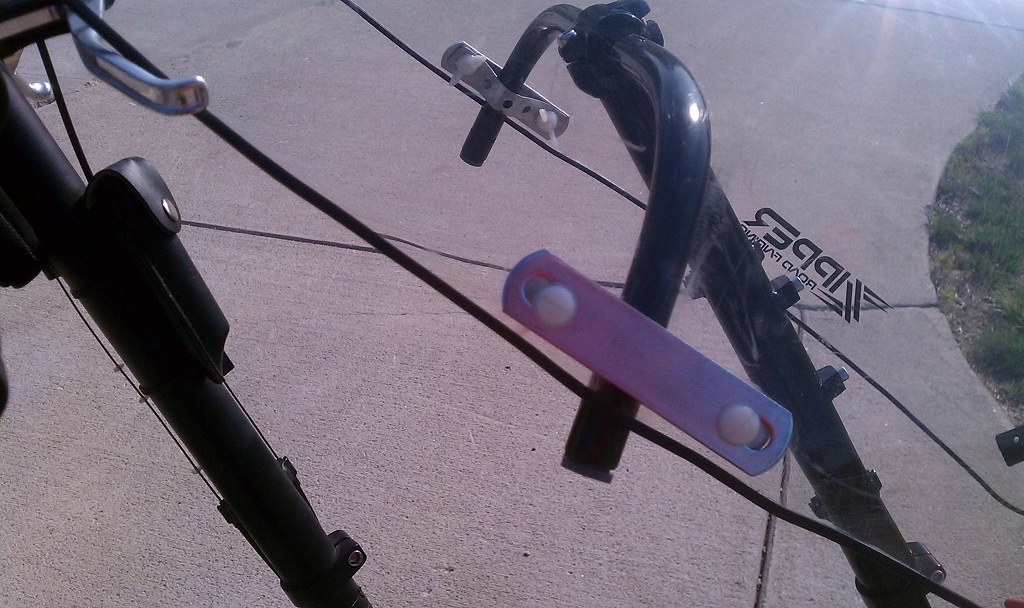
The upper bracket was bent using a conduit bender. The diameter was too small for the steering mast bracket, so I took an old inner-tube, cut it into a strip and rolled it around the top bar until it was big enough to be held in the mast bracket. The brackets that hold the fairing to the bar are made from pieces I found at my local Mennards home improvement store (like a Lowes).
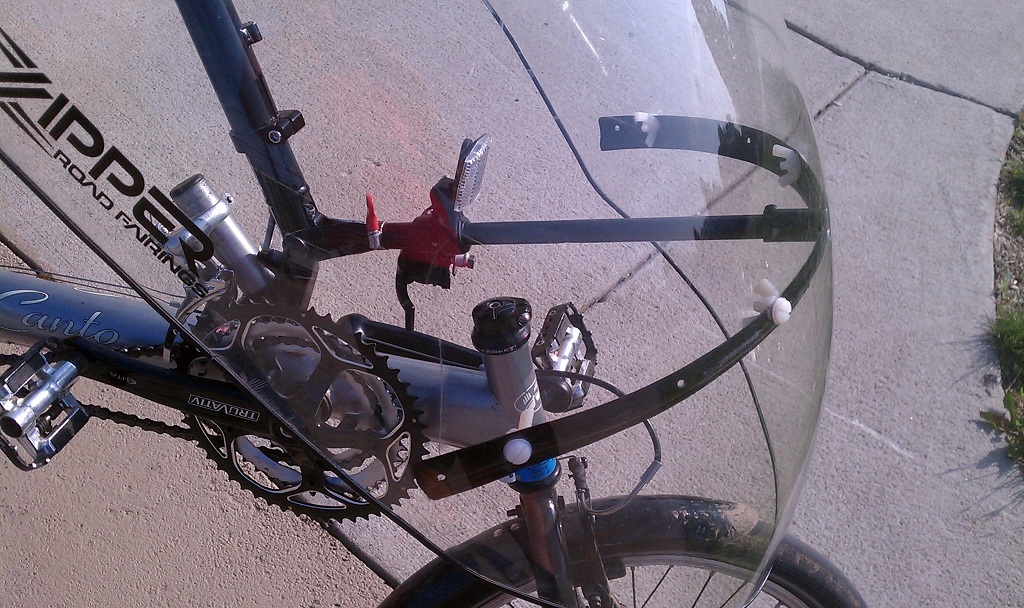
Examining how the lower front of the fairings are attached I found a large metal ring, the bottom of a barrel and cut it to fit, then riveted it to the fairing using a black metal curtain rod. Getting this to attach securely to the bottom of the steering mast was the greatest challenge, but finally I came up with following using an aluminum tube that is meant to be a deck rail (same as I used on top fairing support bar). Where it attaches to the steering mast I cut the tube down the middle, carefully split it apart and mounted it to the two bolts on each side of the steering mast.
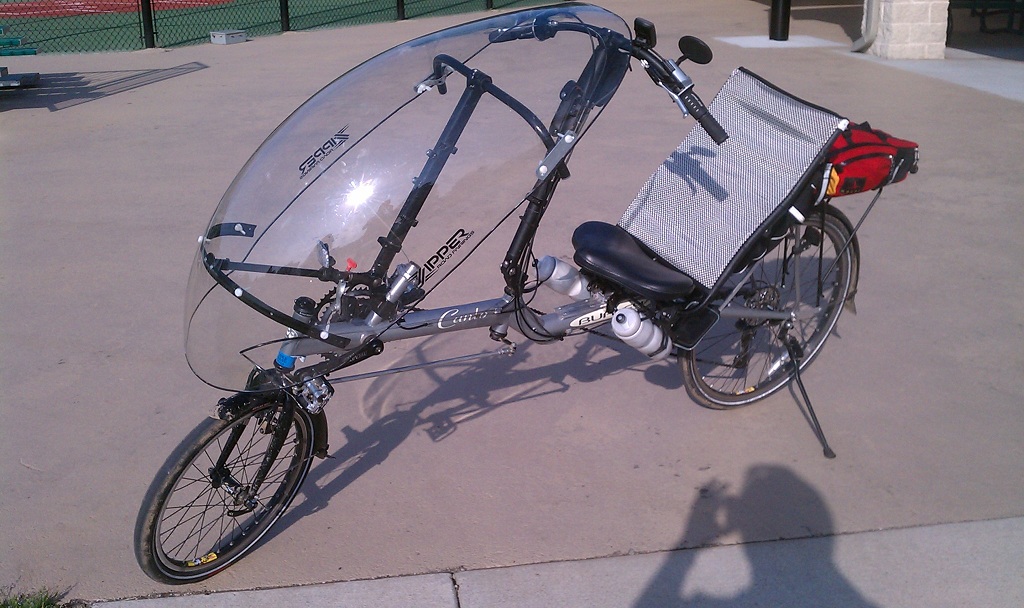
Nylon wing nuts from Lowes and bolts from Mennards (they had a wider head) were used to mount all brackets to the existing holes in the fairing. Once I tested it and made final adjustments I disassembled and spray painted everything a gloss black. Here is the final view showing the entire bike.
The first time I took the bike out with the fairing I was not impressed as I thought I was feeling the same type of riding against the headwind and no difference in performance. That, I discovered, was wrong as my first ride was without my speedometer. Once I put my speedometer on I was amazed at how much faster I was going, especially into the wind. As an added benefit, I found it works as a sail with a tailwind. However, on my ride today with 22 mph winds and gusts of 40 mph, it was quite a challenge when I was hit by a side wind.
Overall, though, I’m extremely happy with the results and doubt I will ever ride a recumbent again without a fairing. I’m anxious to see how it does on my ride across Nebraska (BRAN) next week.
Additional Notes Added June 3:
After many test runs I determined that my support system for the faring was a bit wobbly and created a rattling of the fairing, especially on the lower outer area. Last night I designed a couple of tubular support bars which I hope will help. This will keep the outer edges of the fairing from bouncing in and keep the whole fairing from bouncing up and down (which was only slight before, but noticable).
